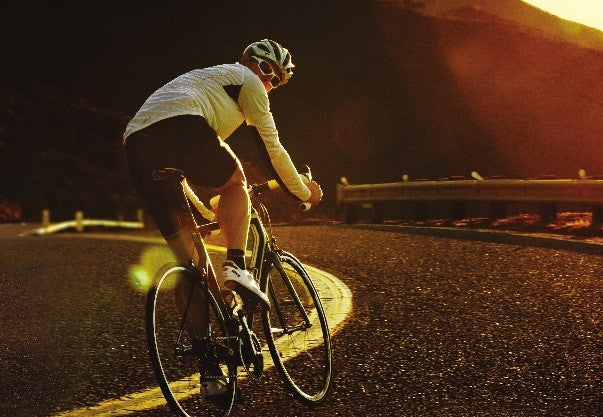
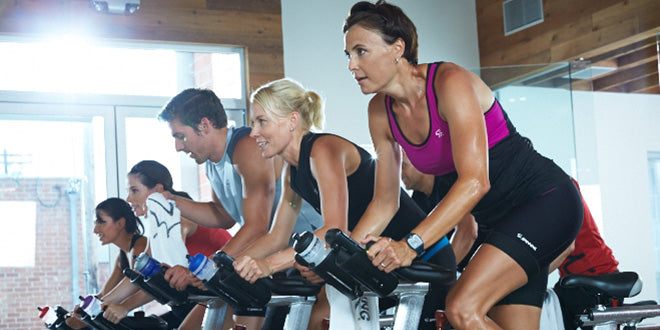
With summer officially here, we want to help riders understand the difference between their indoor classes and their outdoor rides, starting with the concept of cadence.
With more sunshine and higher temperatures greeting us this season, it’s high time to dust off the old outdoor bike and go for a ride! The creators of the Spinning® program based their bikes and movements on real road cycling, so the work you put out in a Spinning® class will greatly benefit your outdoor rides (and vice versa!).
However, there are a few distinct differences between riding outdoors and taking part in a Spinning® class. We will be exploring these differences over the summer months, but the first one we want to zero in on is cadence.
Measured in revolutions per minute (or RPM), cadence defines the speed of your legs while pedaling. The Spinning® program bases its cadence guidelines on what real cyclists achieve when riding outdoors. The Spinning program recommends a cadence between 80-110 RPM for flat roads, and 60-80 RPM for simulated hills. One common aim for outdoor cyclists is 90 RPM (1).
However, hitting these target cadences can be a challenge. Most new students entering their first ever Spinning® class will jump on the bike and pedal as fast as they can, thinking that this is the goal. As a result, they pedal at a cadence higher than 110 RPM. Not only is riding at a cadence this high unsafe, but it also unproductive, because it wastes energy and does not build endurance (2).
On the other end of the spectrum, outdoor riders may find it challenging to reach the target cadence of 90 RPM and will ride at a slower leg speed than is recommended. Weather, wind, hills, road conditions, and set gear ratios can limit our ability to reach our cadence goal.
With this disparity between indoor and outdoor riding, how do make sure that we’re hitting the correct cadence to achieve our fitness goals? First, we need to actually be aware of what our cadence is. This can either be done through a cadence computer or a cadence check. Nearly all Spinner® bikes come equipped with a Spinning® Computer displays your students’ RPM right there on the handlebars. But in the event you do not have a computer or cadence sensor, you can always keep track of your RPM with a simple cadence check. Ask students to count how many times one leg completes a full pedal rotation in 15 seconds. Multiply that number by four, and you have your RPM. You can also complete this manual cadence check on an outdoor ride as well, or purchase a wheel-mounted cadence sensor for your road bike.
Now that we’re aware of our RPM, we can actually attain our target cadence. On a Spinner® bike, this is accomplished with the resistance knob. Simply turning the knob to the right will cause the pedaling speed to slow because of the weight added to the perimeter-weighted flywheel. This concept can be introduced at the beginning of class; during the warm-up, cue riders to add a little bit of resistance. Riders will see their cadence decease on the Spinning® Computer and feel their exertion increase.
The resistance knob is also infinitely adjustable to meet a specific cadence, and it is not affected by the road surface, wind or gear ratios. So training indoors may accommodate your students’ needs and goals better than an outdoor ride.
But there are still many ways to train your cadence both indoors and out. Here are three drills that can be completed in your Spinning® classes or on outdoor rides to help you target a certain cadence:
Drill #1: Consistent Cadence
Goal: Familiarizing students with the Spinning® Computer and maintaining a constant RPM.
- Simulate a flat road with the resistance knob and maintain a constant cadence (+/- 2 RPM) for 3–5 minutes
- Cue a smooth circular pedal stroke, with a sweeping back motion and no heavy downstroke
- Keep a relaxed upper body and note how important it is in maintaining a consistent cadence
Drill #2: Cadence Ladder
Goal: Maintain the same leg speed though a variety of terrains
- Start with a cadence of 80 RPM for 5 minutes, enabling students to internalize the feel of the cadence and resistance
- Increase the cadence to 85 RPM for 2–3 minutes, then up to 90 RPM for another 2–3 minutes. Try to maintain the same heart rate or RPE by adjusting the resistance knob. Go back down the ladder from 90 to 80 RPM
- Now simulate a hill by increasing the resistance. The cadence should remain at 80 RPM
- Increase the resistance until your cadence falls to 75 RPM for 2–3 minutes, then at 70 RPM for 2–3 minutes. The students’ effort should remain the same throughout this section
- For added challenge, get out of the saddle for a Standing Climb and climb back up the cadence ladder (75 RPM for 2–3 minutes, then 80 RPM for another 2–3 minutes)
Drill #3: Accelerations
Goal: Testing your body’s ATP-PC energy system with short bursts of speed
- Simulate a flat road at a higher cadence (90 RPM) for at least 1 minute
- Increase cadence to 100 RPM for 30 seconds (a tempo change is the perfect accompaniment to this drill)
- Reduce leg speed back to 90 RPM and repeat this interval four more times.
These drills are perfect for just after the warm up or in the middle of your class or ride. Just remember to always incorporate enough recovery before and after these efforts. With enough recovery and restoration to your muscles, you can become a master of cadence both indoors and out!
Ready to test your knowledge of cadence? Take the quiz and earn one CEC toward your recertification.
Take the CEC Quiz
References
(1) Wahoo Fitness. “Cycling Cadence: What is it & How to Improve Yours.” Retrieved July 25, 2016. Found at: http://blog.wahoofitness.com/cycling-cadence-what-is-it-how-to-improve-yours/
(2) Glaskin, Max. “Ideal cycling cadence: why amateurs shouldn’t try to pedal like Chris Froome.” Cycling Weekly. Retrieved April 26, 2018. Found at: http://www.cyclingweekly.com/fitness/why-amateurs-shouldnt-try-to-pedal-like-chris-froome-191779


Leave a comment
This site is protected by hCaptcha and the hCaptcha Privacy Policy and Terms of Service apply.