By Sabrina Fairchild
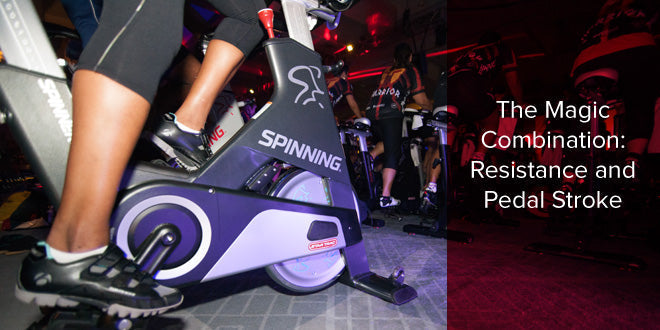
There are two magic ingredients to riding a Spinner® bike that can transform a person’s experience: resistance and a proficient pedal stroke. When resistance is coupled with a refined pedal stroke, riders will notice physical benefits and a greater ability to focus mentally.
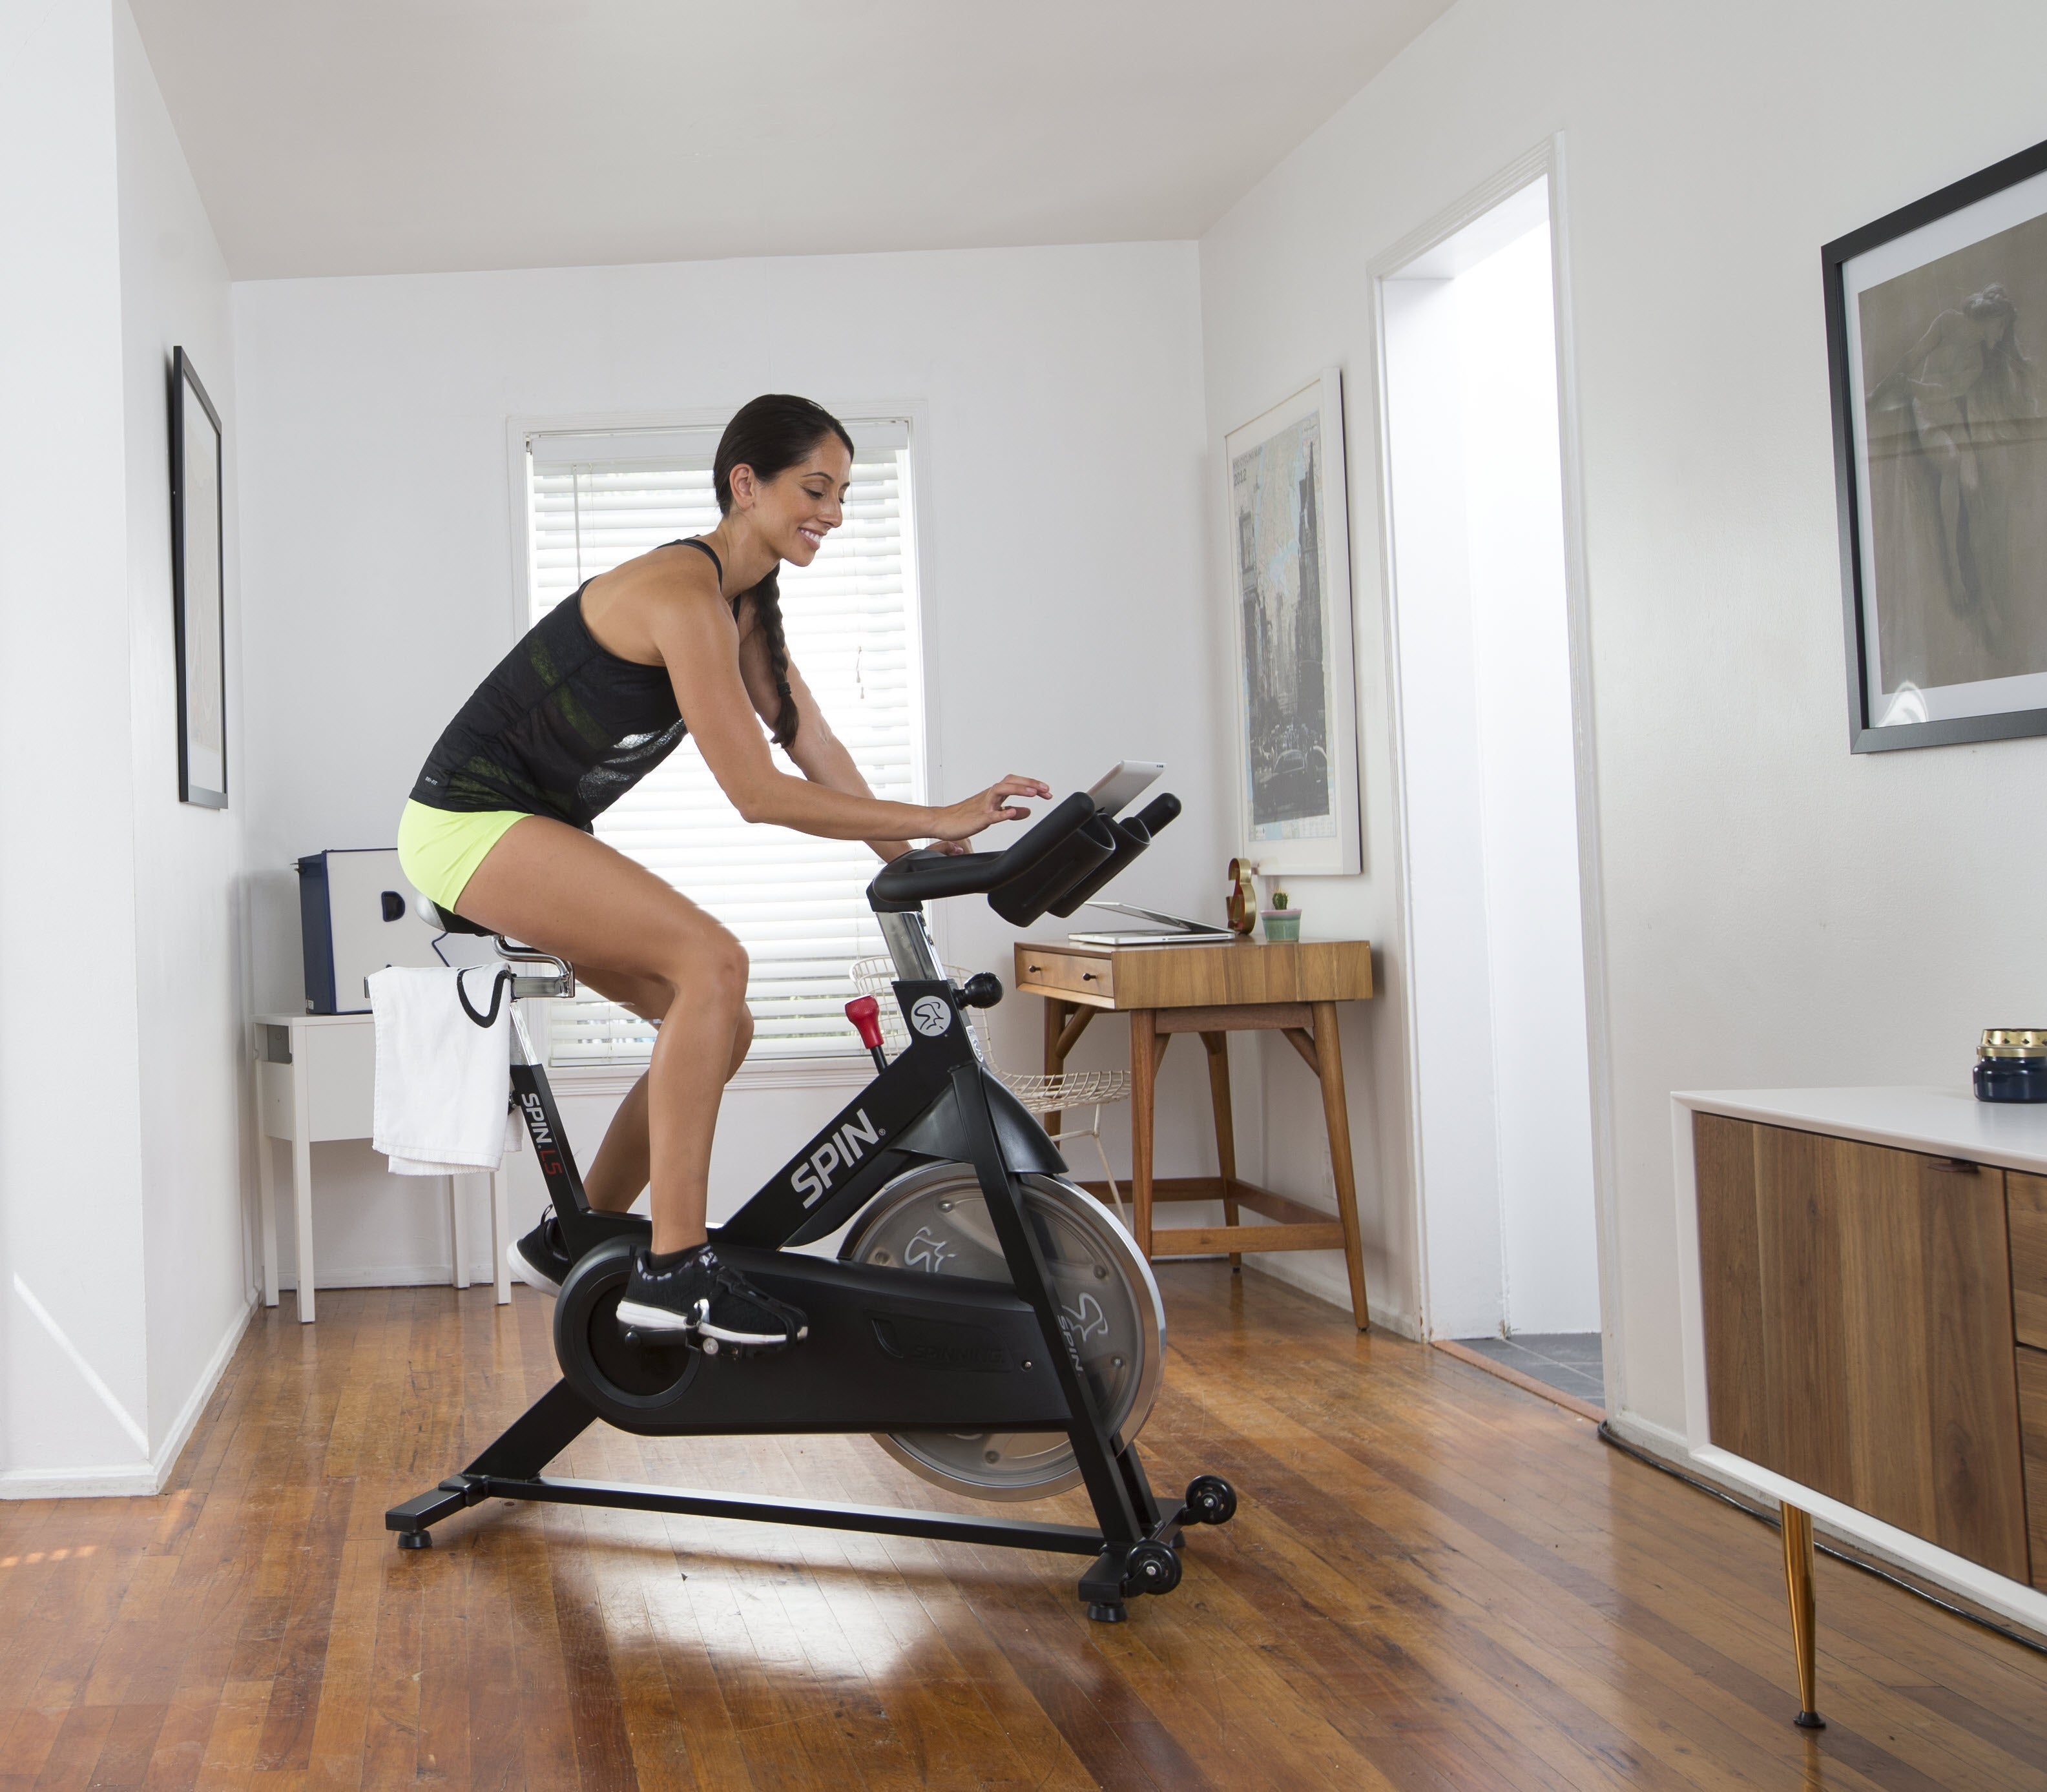
People tend to think that riding a Spinner® bike is simple, but to ride one well takes practice. Riding a stationary bike well means pedaling economically and reserving energy for more challenging levels of resistance. Once a rider has the appropriate bike setup, including knee flexion at a 25 to 35 degree angle at the bottom of the pedal stroke and the ball of the foot placed in the center of the pedal, he or she can then focus on developing a proficient pedal stroke. Understanding the application of force throughout the rotation of the pedal stroke and applying that during class can assist riders with isolating their leg muscles and taking pressure off their feet.
The pedal stroke has two phases: the power phase and the recovery phase, which can be broken up into four quadrants. Quadrant one of the power phase is where the foot is parallel to the floor and the rider pushes the toes forward toward the wall in front. Quadrant two of the power phase is where the rider pushes the heel downward. What may be misunderstood about the power phase is that it is not a constant vertical push because the foot is traveling in a circle. The power phase is traveling forward at the same time it is traveling downward, and the most powerful point of that is at 90 degrees.
Quadrant three of the recovery phase is where the foot is parallel to the floor again and the rider is drawing the heel straight back. Quadrant four of the recovery phase is when the heel lifts slightly. This fourth segment is the least understood as many instructors cue the hamstrings to draw the leg up, but it is actually done via the hip flexors and tibialis, so the hamstrings are the antagonist. At the back of the pedal stroke the foot should feel “unweighted”. A lot of people make the mistake of focusing on pulling up on the back side of the pedal stroke all the time, but the only time the recovery phase has any pulling up is during climbing and sprinting due to the amount of resistance on the flywheel.
Now that we’ve learned how to perform a proper pedal stroke, let’s see how resistance comes into play. Since Spinner® bikes have a weighted flywheel, it is crucial to maintain enough resistance on the flywheel in order to be in control of the pedal stroke. Too little resistance greatly reduces the rider’s fitness potential. This is evident when riders bounce in the saddle with too little weight on the flywheel and too high of cadence. Resistance on the Spinner® bike is created by a spring-loaded pad, which compresses against the flywheel when the resistance knob is turned to the right. There is no universal way to calibrate the resistance on the bikes as each brake pad will wear differently over time due to usage variations. Therefore, the best way to communicate resistance is to use the words light, moderate and heavy as explained in the Spinning® Instructor Manual. Orienting riders with how much to rotate the resistance knob may be done during the warm-up by encouraging them to turn it in small increments and allowing them to judge for themselves how much a single gear change is on that bike. Perception of how easy or difficult the resistance is will be based according to their fitness level and riding experience. We do not cue our students to turn the knob a half or full turn as all the bikes can be different. Only riders may apply and change the resistance on their bikes.
If you review your instructor manual, you’ll see that each movement in the Spinning® program has a recommended amount of resistance. For example, on a Seated Flat, we recommend light resistance. But even within those guidelines, there is room for two or three resistance changes. We can simulate a very smooth road, one with bumps, or even one with a strong wind pushing against us according to where on the scale of “light” we decide to ride. To create a Seated Climb we need moderate resistance, which feels like the difference between walking on a sidewalk and walking in hip deep water or loose sand. The crank arms are definitely more difficult to rotate and the workload would be described as hard but doable for one or more songs in a row.
Outside, standing is used when the grade of the hill begins to overcome the rider. We can simulate that indoors as well. Heavy resistance is needed for Standing Climbs because it should feel difficult to pedal while seated, so the rider feels the need to stand up to overcome the resistance and has stability when he or she does so. Standing is not as economical and should be used more sparingly.
When a rider is able to apply moderate to heavy resistance and work all four segments of the pedal stroke, the rider is able to increase mental focus because one must really think about each section and remain observant about the foot positions. In my experience, participants have reported a huge reduction of foot numbness by improving their pedal stroke, so the whole ride is more enjoyable. Riders have also expressed truly feeling their muscles work in the legs when they put effort into the four segments of the pedal stroke. Combining resistance with proficient pedal stroke is useful for all levels and gives people more of what they come to class for: results!


Leave a comment
This site is protected by hCaptcha and the hCaptcha Privacy Policy and Terms of Service apply.